Introduction
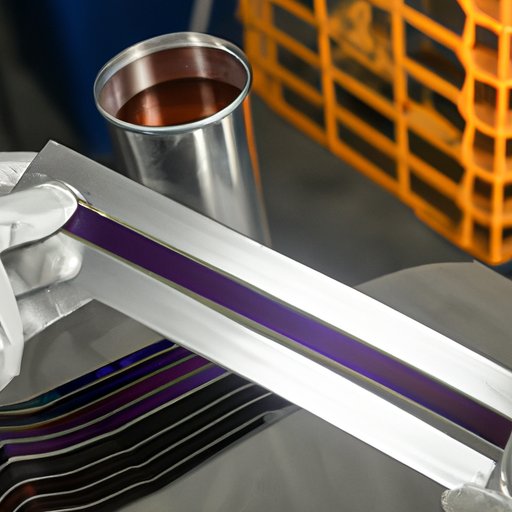
Anodizing aluminum is a process that involves electrochemically oxidizing the aluminum surface in order to provide it with a protective coating. It’s a popular method for enhancing the appearance of metal parts while also providing them with increased durability and corrosion resistance. Anodizing aluminum can be done either commercially or at home, depending on the desired outcome and available resources.
In this article, we’ll take a look at the basics of anodizing aluminum, the materials and equipment you’ll need to do it at home, and a step-by-step guide to help you get started. We’ll also discuss some common issues you may encounter and how to troubleshoot them.
Benefits of Anodizing Aluminum
Anodizing aluminum has several benefits, both in terms of aesthetics and function. It can help to increase the strength and durability of the metal surface, as well as making it resistant to corrosion. It can also provide a more attractive finish, as it can be used to create various colors and patterns on the aluminum surface.
Another benefit of anodizing aluminum is that it helps to protect against environmental damage. This includes UV radiation, salt water, and other harsh conditions. Anodized aluminum is also easier to clean and maintain, since dirt and grime don’t stick to the surface as easily.

Materials and Equipment Needed to Anodize Aluminum
Before you get started with the anodizing process, you’ll need to make sure you have all the necessary materials and equipment. This includes items such as an anodizing tank, an electrolyte solution, a power supply, and safety gear.
Necessary Materials
The first thing you’ll need is an aluminum part or object that you want to anodize. You’ll also need an electrolyte solution, which is typically made up of sulfuric acid, water, and other additives. You should also have some distilled water on hand to use for cleaning purposes.
Necessary Equipment
In addition to the materials, you’ll need some specialized equipment to complete the anodizing process. This includes an anodizing tank, which is a container that holds the electrolyte solution and the aluminum part. You’ll also need a power supply, which provides the electrical current needed to initiate the anodizing process. Finally, you’ll need some safety gear, such as gloves, goggles, and a respirator.
Step-by-Step Guide to Anodizing Aluminum at Home
Now that you have all the necessary materials and equipment, you’re ready to get started with the anodizing process. Here’s a step-by-step guide to help you through the process.
Preparation
The first step is to prepare the aluminum part for anodizing. This involves cleaning it thoroughly with distilled water and removing any dirt, grease, or other contaminants. Once the part is clean, it’s important to inspect it carefully to make sure there aren’t any scratches or imperfections that could affect the anodizing process.
Anodizing Process
Once the aluminum part is prepared, you can begin the anodizing process. Start by filling the anodizing tank with the electrolyte solution and placing the aluminum part in the tank. Then, connect the power supply to the tank and turn it on. The electrical current will cause a reaction between the aluminum and the electrolyte solution, resulting in the formation of an oxide layer on the aluminum surface.
It’s important to keep an eye on the process and adjust the power supply as needed. The amount of time needed for the anodizing process to be completed will vary depending on the size and type of aluminum part being anodized.
Cleaning Process
Once the anodizing process is complete, it’s important to clean the aluminum part. This can be done by rinsing it with distilled water and then giving it a final rinse with a mild detergent. Finally, dry the part with a soft cloth and store it in a cool, dry place.
Troubleshooting Common Issues with Anodizing Aluminum
Although anodizing aluminum is generally a straightforward process, there are some common issues you may encounter. Here are some tips for troubleshooting these issues.
Identifying Common Problems
One of the most common issues you may experience is uneven coloration. This can occur if the aluminum part wasn’t cleaned properly before the anodizing process. Another issue is bubbling or pitting, which can occur if the power supply isn’t set to the proper voltage.
Tips for Resolving Issues
If you’re experiencing uneven coloration, you can try increasing the voltage of the power supply. If you’re experiencing bubbling or pitting, you can try decreasing the voltage of the power supply. It’s also important to make sure the aluminum part is properly cleaned before beginning the anodizing process.
Conclusion
Anodizing aluminum is a great way to enhance the appearance and durability of your aluminum parts. With the right materials and equipment, you can easily anodize aluminum at home. Just make sure to follow the steps outlined in this article and troubleshoot any issues you may encounter.
Anodizing aluminum offers numerous benefits, including increased strength and durability, greater corrosion resistance, improved aesthetics, and protection against environmental damage. So why not give it a try? Anodizing aluminum at home is a fun and rewarding project that can yield great results.

