Introduction
Drilling through aluminum is an important skill that anyone working with metal should learn. Whether you’re a beginner or an experienced professional, knowing how to correctly and safely drill through aluminum is essential for any project involving metal. This article will provide a step-by-step guide on how to successfully drill through aluminum, from gathering the necessary tools and safety equipment, to applying coolant or lubricant as needed, and finally cleaning up any shavings.

Gather the Necessary Tools and Safety Equipment
Before you begin drilling through aluminum, it’s important to ensure that you have all the necessary tools and safety equipment. This includes a power drill, drill bits, clamps, eye protection, gloves, and a dust mask. The power drill should be set to low speed, and the drill bits should be sharp and appropriate for the type of aluminum you’re drilling. Clamps are used to securely hold the aluminum in place while drilling, and the safety equipment will protect your eyes, hands, and lungs from any debris that may be created during the process. You can find the appropriate tools and safety equipment at any hardware store or online.
Mark the Spot on the Aluminum Where You Want to Drill
Once you have all the necessary tools and safety equipment, it’s time to mark the spot on the aluminum where you want to drill. This is important to ensure that the hole is placed accurately. You can use a marker or a scribe to correctly mark the spot. Make sure the mark is clear and visible so that you can easily line up the drill bit with the mark.

Select the Appropriate Drill Bit
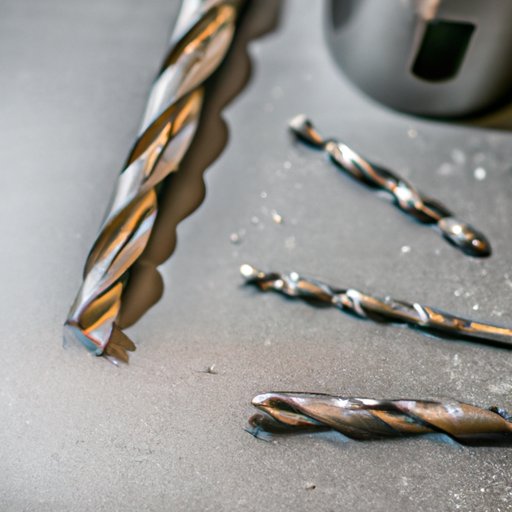
Now that the spot has been marked, it’s time to select the appropriate drill bit. There are different types of drill bits available for drilling through aluminum, such as high speed steel (HSS) bits, titanium nitride coated bits, and carbide tipped bits. Each type of bit has its own advantages and disadvantages, so it’s important to choose the one that best suits your needs. It’s also important to choose a bit that is sharp and of the correct size for the job.
Secure the Aluminum and Clamp it in Place
Next, it’s important to secure the aluminum before beginning to drill. This can be done by clamping the aluminum in place using a vise, or by using clamps to hold it down. It’s important to make sure that the aluminum is secure before starting to drill, as this will help to prevent any accidents or damage to the material.
Set the Speed of the Drill to Low and Begin Drilling
Once the aluminum is secured and clamped in place, it’s time to begin drilling. Set the speed of the drill to low and begin drilling slowly. It’s important to start slow and gradually increase the speed as needed. This will help to ensure that the holes are drilled accurately and without any mishaps.

Apply Coolant or Lubricant to the Bit as Needed
It’s also important to apply coolant or lubricant to the drill bit as needed. This will help to reduce friction and heat build-up, which can cause the drill bit to overheat and dull. Different types of coolants and lubricants are available, so make sure to choose the one that best suits your needs.

Carefully Remove the Bits and Clean Up Any Shavings
Once the drilling is complete, it’s important to carefully remove the drill bits and clean up any shavings. This will help to ensure that the area is clean and free of debris. When removing the drill bits, it’s important to use caution to avoid any accidents or injuries.
Conclusion
Drilling through aluminum can be a tricky process, but with the right tools, safety equipment, and knowledge, it can be done successfully. Make sure to gather the necessary tools and safety equipment, accurately mark the spot on the aluminum where you want to drill, select the appropriate drill bit, secure the aluminum and clamp it in place, set the speed of the drill to low and begin drilling, apply coolant or lubricant to the bit as needed, and carefully remove the bits and clean up any shavings. Following these steps will ensure successful drilling with no mishaps.

